Overview
This tutorial will walk you through some of the basic functionality of CHARTextract.
-
Download the most recent version of the tool from the Downloads page. Extract the contents of the file and run the tool by double-clicking on the executable file in
[release_name]\win-unpacked\chartextract.exe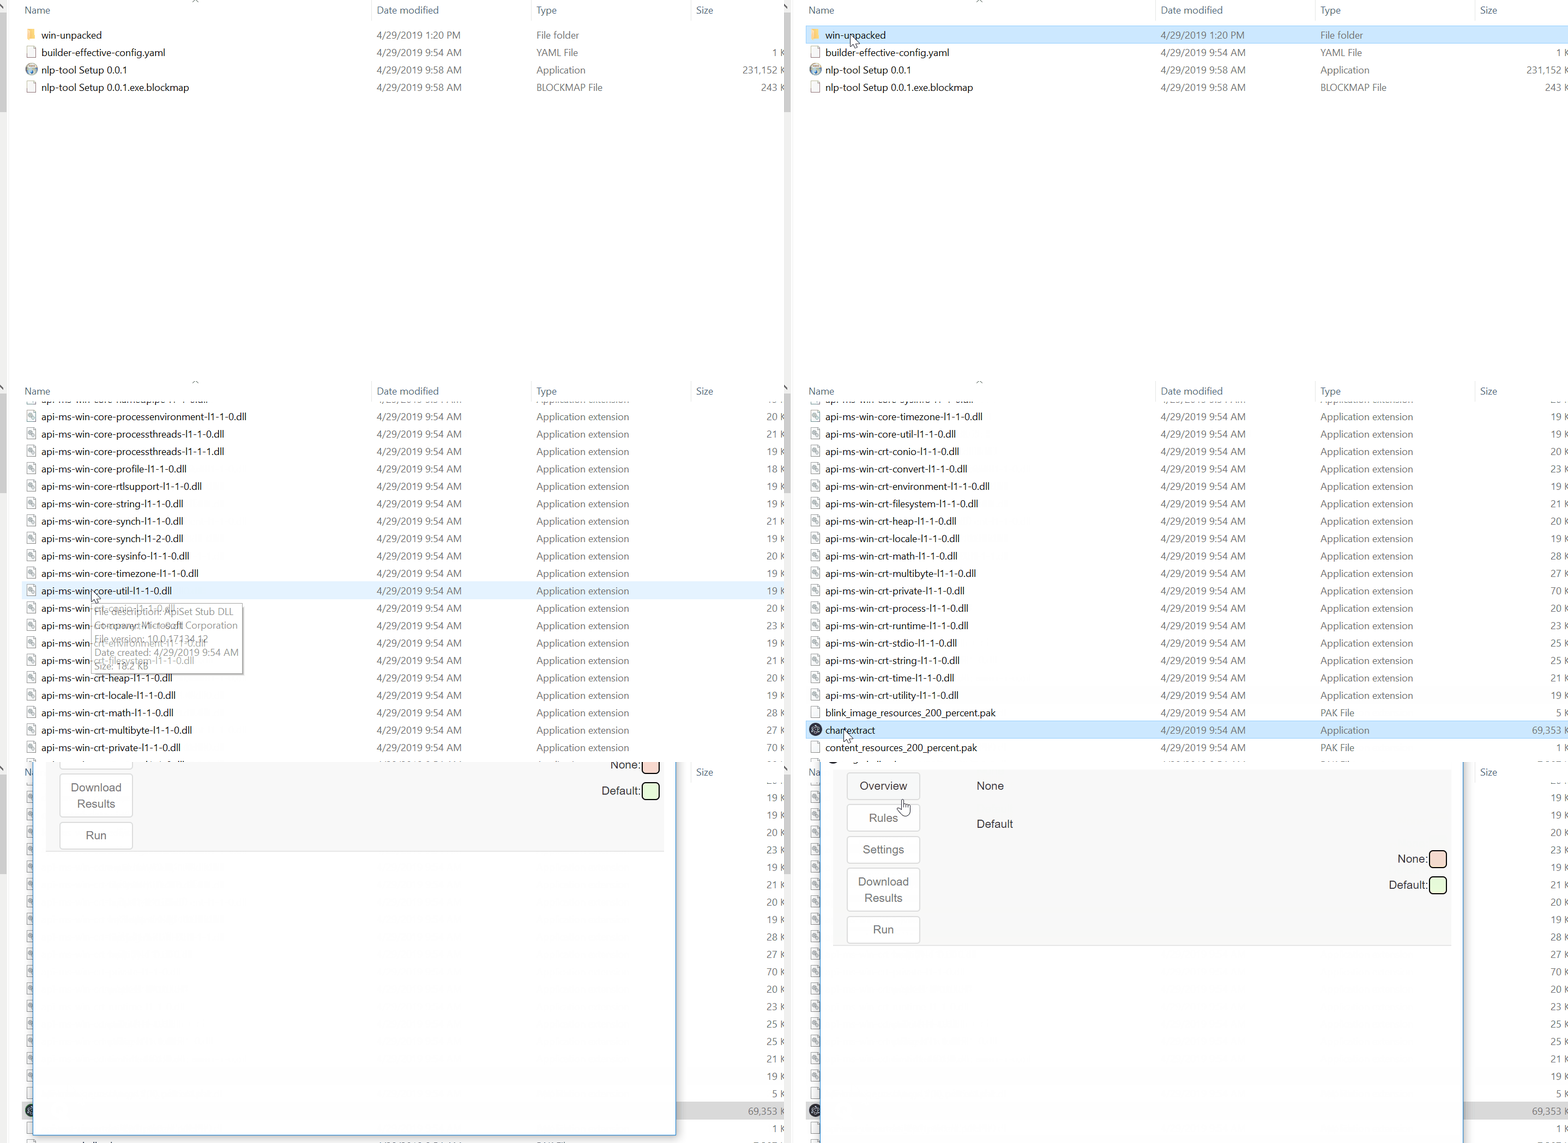
-
Once CHARTextract launches, you will notice that there are different buttons on the side that let you navigate between different views of the tool. Press on the Settings button. From the Settings view, you will see three tabs: Project settings, Variable Settings, and Classifier Settings.

-
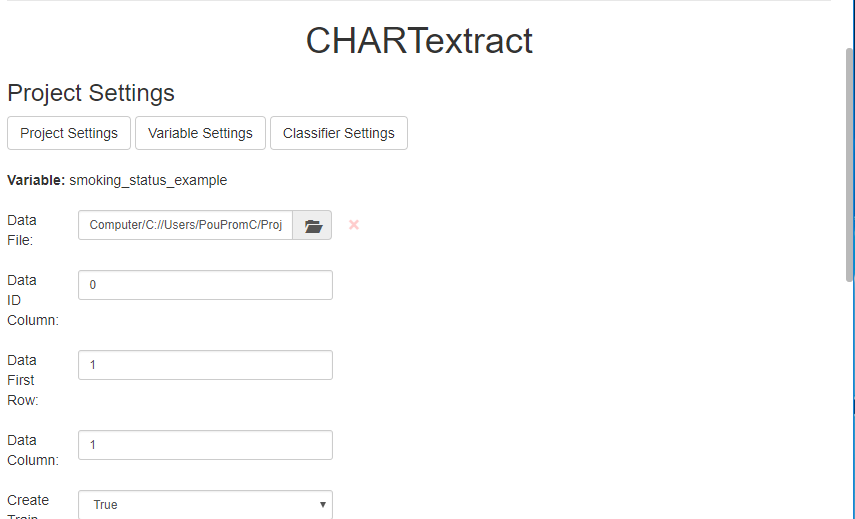
Press on the Project Settings button. Here, you can upload your data files.
-
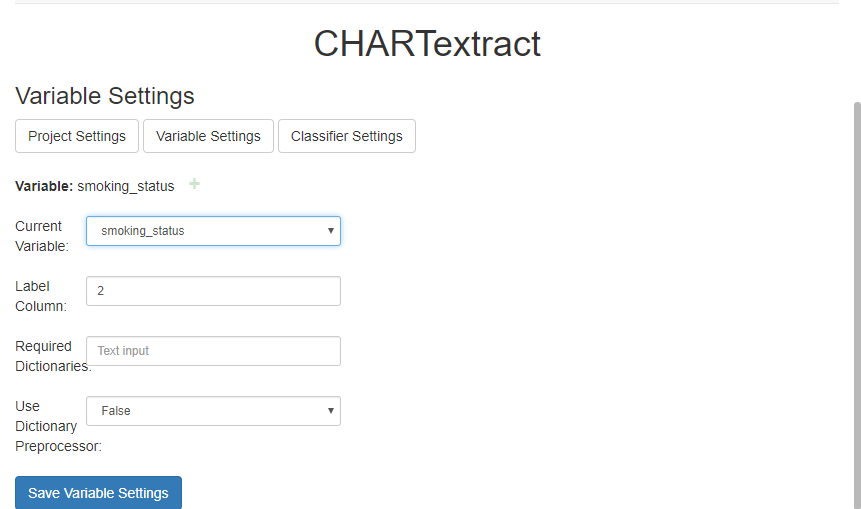
Variable settings are where you specify things specific to your variable. In particular, this is where you will specify the column of your true labels.
-
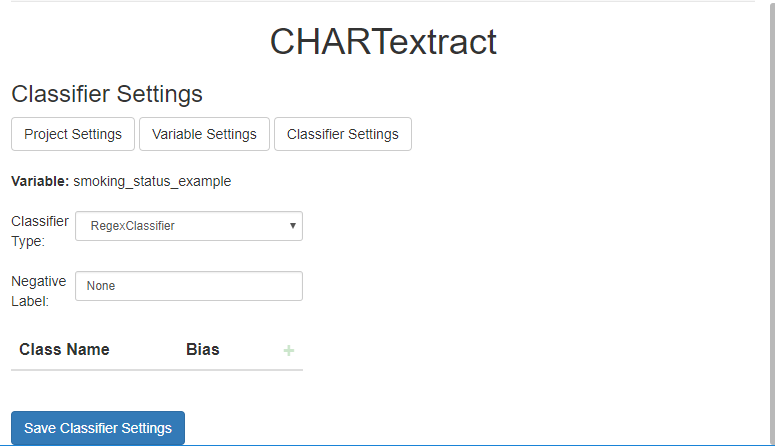
In Classifier Settings, you specify things related to the classifier. Here, you’ll notice there is a field for the negative label. This is the label that is assigned if none of the labels get a score.
-
The Rules View is where you write all your rules. You can view the rules either in the basic view or the advanced view.
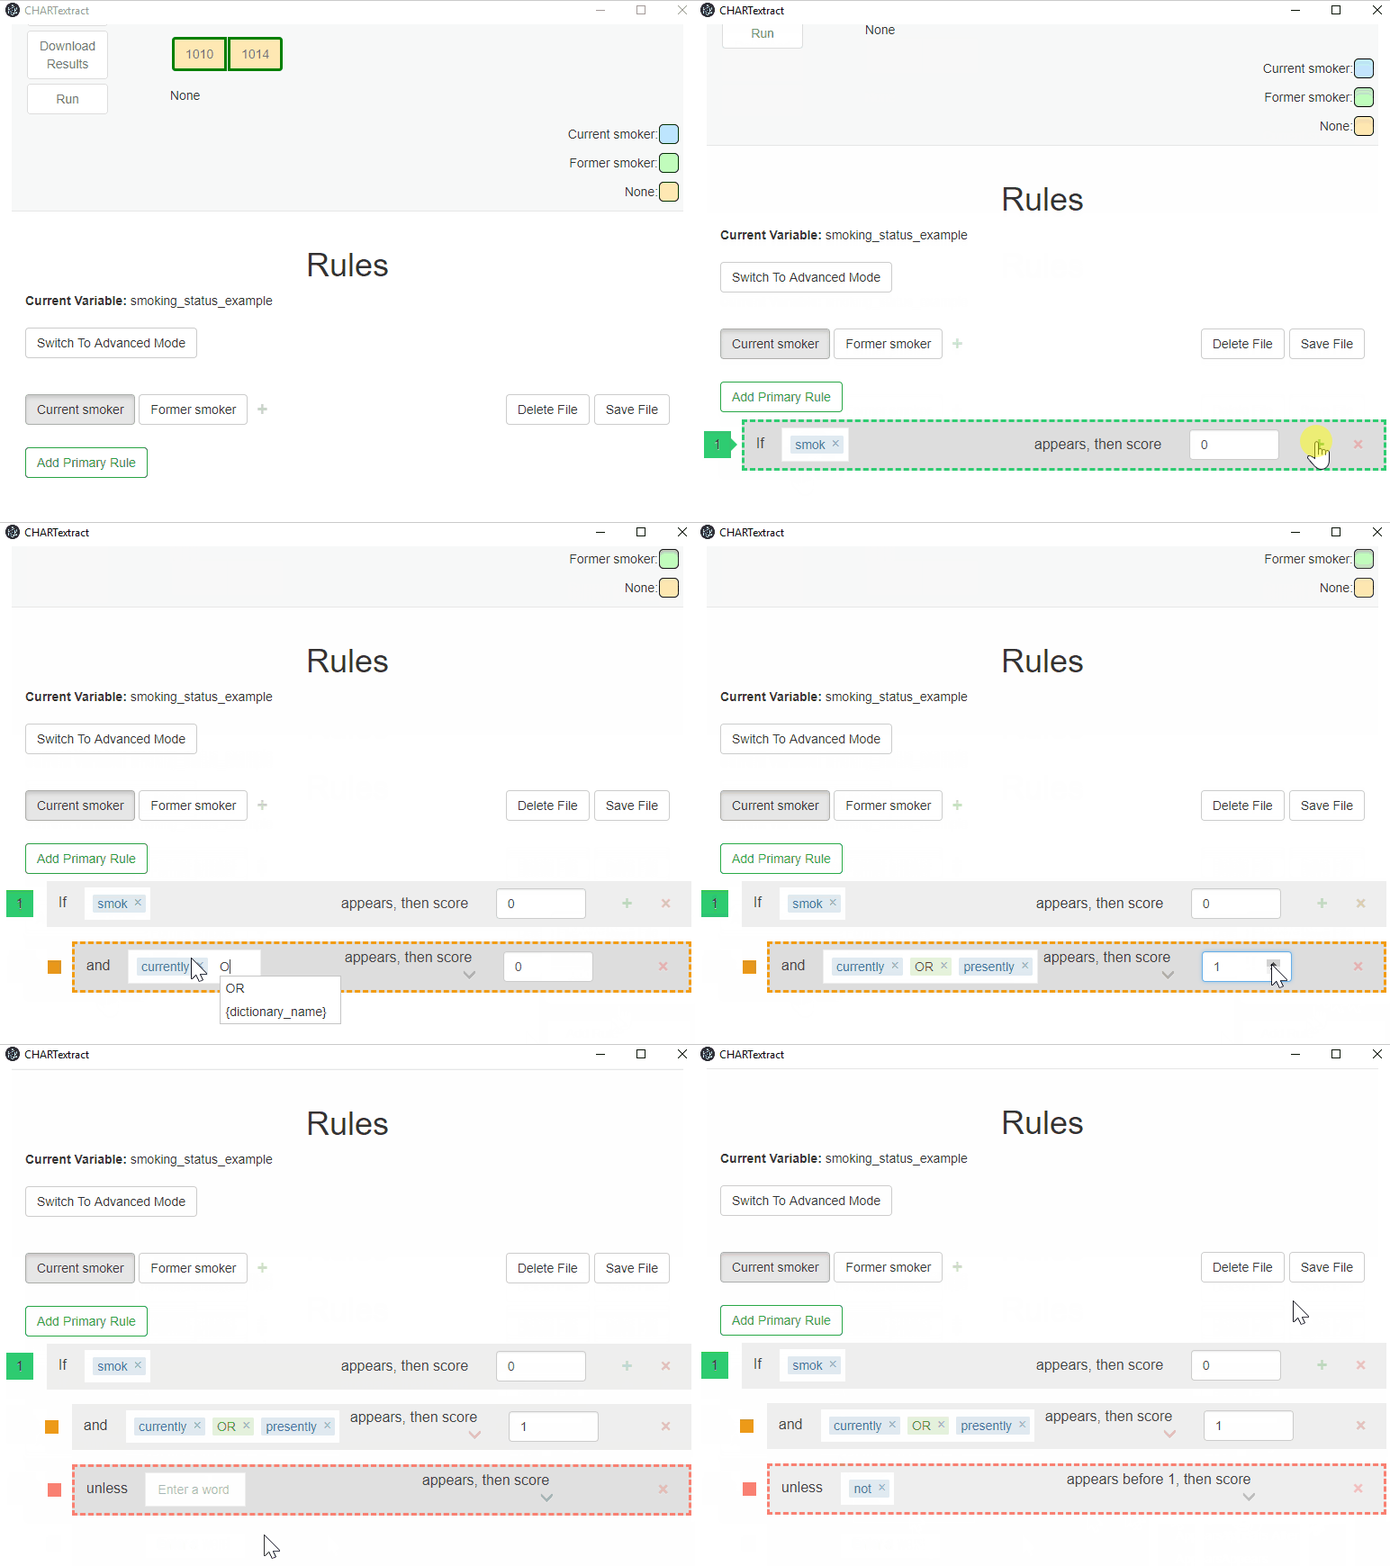
-
Once you have written rules, you can run the rules. The panel will display misclassified instances.
-
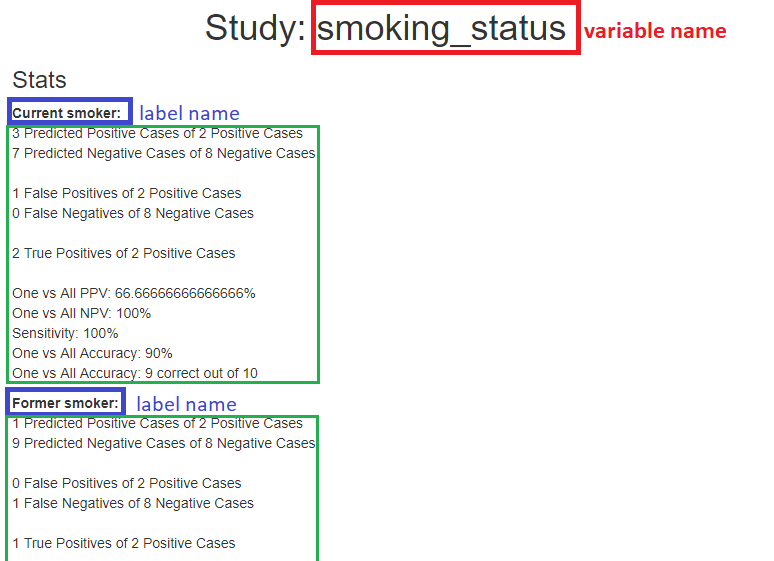
If you click on Overview, you can get some details on how CHARTextract is performing.
