Project Settings
The Project Settings view is where you specify project-specific settings such as data files.
To get to the Project Settings view, press on the Settings button in the navigation menu, and then on the Project Settings button in the main panel.
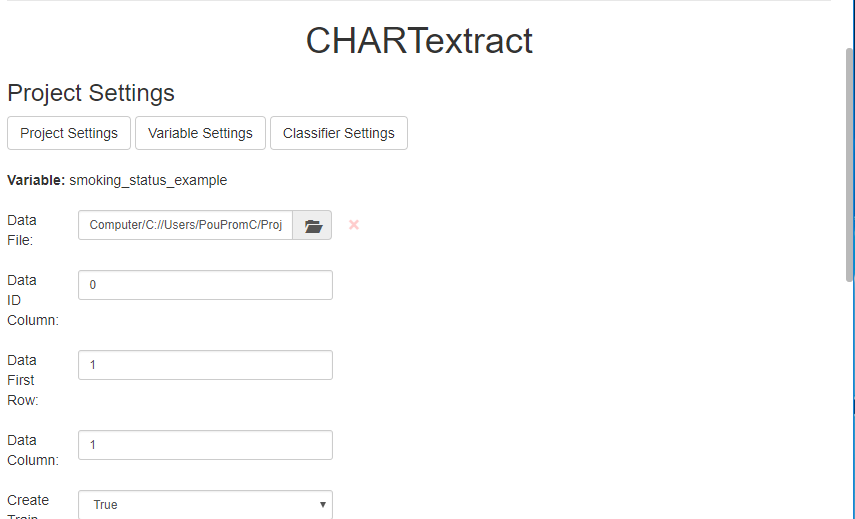
- Variable: This displays the variable that is currently being extracted. This is set in the
Variable Settingstab. The first time you launch CHARTextract, this will be set todefault. - Data File: Press on the folder icon to launch the folder navigator. Use that to upload your data file. More details on data files can be found in the Data Files page.
- Data ID Column: This number specifies the column number where the Data ID is located.
- The column count starts at 0, so column A would be 0, column B would be 1, and so on.
- Data First Row: This number specifies the row number of the first row of data.
- The row count also starts at 0, so row 1 is 0, row 2 is 1, row 50 is 49, and so on.
- Data Column: This number specifies the column number containing the data (e.g., the text notes).
- The column count starts at 0, so column A would be 0, column B would be 1, and so on.

- Create Train and Validation Set: If there is no Train Label File and/or no Valid Label File, set this field to True. This will split the data into Train and Valid sets.
- Prediction Mode (True/False): Set to true only when you already have a set of rules made for the variable of interest. If Prediction Mode is set to True, CHARTextract will only generate predictions for the Train Label File and NOT display mismatches.
- Train Label File: Press on the folder icon to launch the folder navigator and specify the location of your training label file.
- Valid Label File: Press on the folder icon to launch the folder navigator and specify the location of your validation label file.
- The column format should be identical to the training label file.
- A valid label file MUST be specified if Prediction Mode is set to False and if Create Train and Validation Set is set to False.
- Label ID Column: Specify the column number for the unique ID column in your label file(s).
- The column count starts at 0, so column A would be 0, column B would be 1, and so on.
- Label First Row: Specify the row number for your first row of labels (do not include header rows).
- The row count also starts at 0, so row 1 is 0, row 2 is 1, row 50 is 49, and so on.
- If you are using a validation label file, ensure that that the first row of data is the same as the first row of data in the training label file.
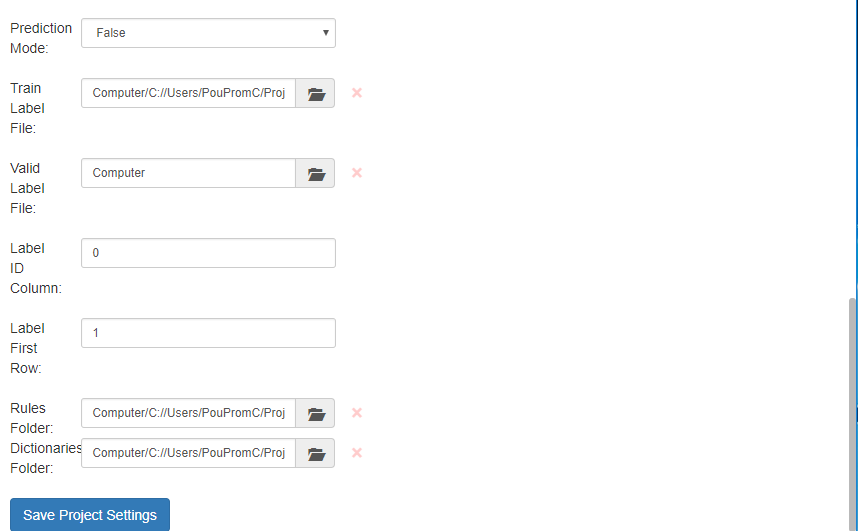
- Rules Folder: Press on the folder icon to launch the folder navigator and specify the location of your rules folder.
- If you wish to modify an existing set of rules, make sure you have permission to write and save to the rules folder location.
- Dictionaries Folder: Press on the folder icon to launch the folder navigator and specify the location of your dictionaries folder, if you are using any.
- Remember to Save Project Settings after making any changes.
Key takeaways:
- Use the
Project Settingstab to upload data files. - When specifying row numbers and column numbers, remember to start counting at 0.